Switching from Docker Desktop to Colima on macOS
I recently switched to Colima as my Docker Desktop alternative on macOS — and I’m not going back. It’s lightweight, starts in seconds, and plugs straight into the existing Docker CLI and docker-compose. If you want a faster local container setup with no new learning curve, Colima is worth trying.
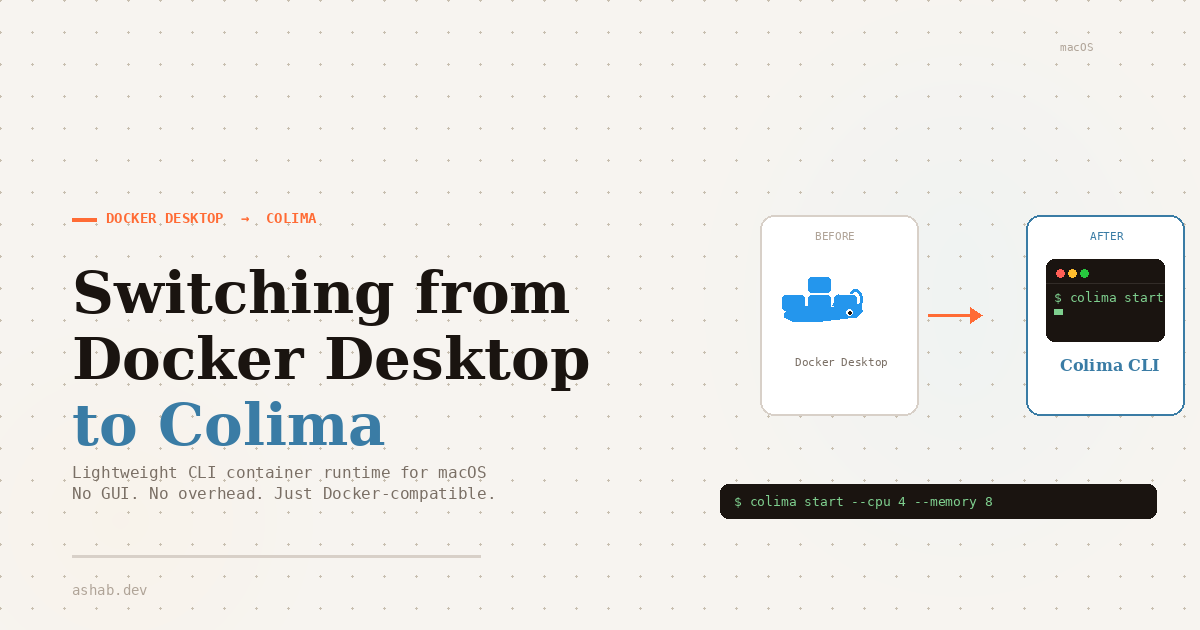
Why I Switched from Docker Desktop to Colima
Docker Desktop worked fine for a long time, but a few things started bothering me:
- Resource usage — Docker Desktop was eating 2-4GB of RAM even when idle. On a 16GB MacBook, that’s noticeable.
- Slow startup — launching Docker Desktop and waiting for the engine to be “ready” took 20-30 seconds. Colima starts in under 5 seconds.
- The UI I never use — I do everything from the terminal. The Docker Desktop dashboard was just sitting there consuming resources.
- License concerns — Docker Desktop requires a paid subscription for companies with 250+ employees or $10M+ revenue. Colima is free and open source.
I wanted something that runs containers, works with my existing docker and docker-compose commands, and stays out of the way. That’s exactly what Colima does.
What Is Colima?
Colima is a container runtime for macOS (and Linux). It creates a lightweight Linux VM using Lima, and runs Docker (or containerd) inside it. The key point: it exposes the standard Docker socket, so all your existing Docker commands, Compose files, and workflows work unchanged.
It’s not a Docker replacement — it’s a Docker Desktop replacement. The docker CLI stays the same. Only the engine running behind it changes.
Setting Up Colima on macOS
Here’s the full setup:
1. Install Colima and Docker CLI
brew install colima docker docker-composeThis installs Colima (the VM manager), the Docker CLI (the commands), and the Docker Compose plugin. You don’t need Docker Desktop installed at all — if it’s still installed, you can remove it.
2. Start Colima
colima start --cpu 4 --memory 4 --disk 60This creates a VM with 4 CPU cores, 4GB RAM, and 60GB disk. Adjust based on your machine. On my M1, this starts in about 3-5 seconds.
If you need to change these later:
colima stop
colima start --cpu 2 --memory 8 --disk 100
3. Verify everything works
colima status
docker info
docker run hello-world
If docker run hello-world prints the success message, you’re good. Every Docker command you already know works from this point.
4. Use Docker like before
docker-compose up -d
docker build -t myapp .
docker ps
Nothing changes in your day-to-day commands. That’s the whole point.
Docker Commands Quick Reference
Colima doesn’t replace Docker commands — it just replaces the engine running behind them:
| Task | Command |
|---|---|
| View all containers | docker ps -a |
| Stop all containers | docker stop $(docker ps -aq) |
| Remove all containers | docker rm $(docker ps -aq) |
| Remove all images | docker rmi $(docker images -aq) |
| Clean everything | docker system prune -a |
| Shell into a container | docker exec -it <container> sh |
Colima-Specific Commands
These are the only new commands you need to learn:
colima start              # start the VM
colima stop               # stop the VM (containers pause)
colima delete             # delete the VM entirely (careful — you lose containers)
colima status             # check if VM is running
colima list               # list all VMs
colima start --kubernetes # start with K8s enabled
My daily workflow: colima start when I begin work, colima stop when I’m done. That’s it.
Resource Comparison
Here’s the rough difference I noticed on my M1 MacBook Pro with 16GB RAM:
| Metric | Docker Desktop | Colima |
|---|---|---|
| Idle RAM usage | 2-4 GB | ~600 MB |
| Startup time | 20-30 seconds | 3-5 seconds |
| Background processes | Multiple (Docker Desktop, Docker Engine, etc.) | Single colima process |
| GUI | Full dashboard app | None (CLI only) |
| Cost | Free for personal, paid for business | Free and open source |
These aren’t scientific benchmarks — just what I observed on my machine during normal development. The RAM difference alone made the switch worth it.
Common Issues and Gotchas
A few things I ran into during the switch:
Colima VM not starting after macOS update: After a macOS system update, Colima occasionally fails to start with a cryptic error. The fix is usually:
colima delete
colima start --cpu 4 --memory 4 --disk 60
You lose running containers, but your images rebuild from Dockerfiles and Compose files anyway. It’s a minor inconvenience.
Volume mounts only cover your home directory:
By default, Colima mounts ~ into the VM. If your project lives outside your home directory, containers can’t access the files. I keep everything under ~/projects so this wasn’t an issue, but it’s worth knowing. You can configure additional mounts in ~/.colima/default/colima.yaml.
Docker socket path:
Some tools expect the Docker socket at /var/run/docker.sock. Colima creates it at ~/.colima/default/docker.sock. If a tool complains it can’t find Docker, add this to your shell profile:
export DOCKER_HOST="unix://${HOME}/.colima/default/docker.sock"Port conflicts with AirPlay on macOS: macOS Sonoma uses port 5000 and 7000 for AirPlay Receiver. If you’re mapping containers to these ports, you’ll get a “port already in use” error. Either change the port mapping or disable AirPlay Receiver in System Settings → General → AirDrop & Handoff.
Docker Compose v1 vs v2:
If you install docker-compose via Homebrew, you get v2 (invoked as docker compose with a space). If your scripts use docker-compose with a hyphen, either update them or create an alias:
alias docker-compose='docker compose'Final Thoughts
Switching to Colima took about 5 minutes and I haven’t opened Docker Desktop since. My machine runs cooler, containers start just as fast, and I didn’t change a single Dockerfile or Compose file.
If you’re a CLI-first developer who doesn’t need Docker Desktop’s GUI, give Colima a try. The official README covers advanced configuration like Kubernetes, custom VM profiles, and containerd mode.
If you’re also streamlining your local dev setup, check out how I use Cloudflare Tunnel for stable local webhook URLs — another tool that removed a lot of friction from my workflow.
Thanks for reading — and stay tuned.