How I Use Cloudflare Tunnel for Local Webhooks
While working with third-party services like Stripe, Paddle, or Qstash, I constantly deal with webhooks hitting my local machine during development.
For a long time, I used tools like ngrok. They work — but the problem is always the same:
Restart the tunnel → get a new URL → update webhook configs in every service dashboard again.
That gets old fast, especially when multiple services depend on the same endpoint.
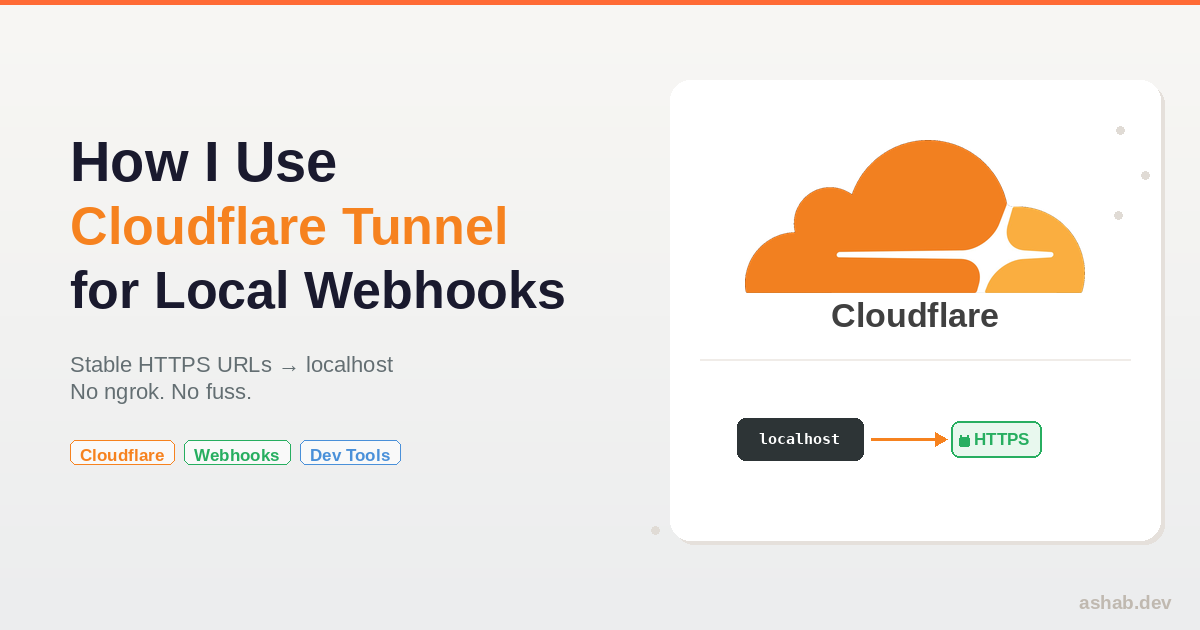
I switched to Cloudflare Tunnel, and it completely solved this problem. Now I have stable, HTTPS webhook URLs pointing to my local machine — no restarts, no reconfiguration, no URL rotation.
This post explains exactly how I set it up.
Why Cloudflare Tunnel Over ngrok?
Both tools create a tunnel from the internet to your local machine. The difference:
| Feature | ngrok (free tier) | Cloudflare Tunnel |
|---|---|---|
| Stable URLs | No — new URL on every restart | Yes — permanent subdomains |
| Custom domains | Paid plans only | Free (if domain is on Cloudflare) |
| HTTPS | Yes | Yes (auto-provisioned) |
| Multiple services | One tunnel per agent | Multiple hostnames in one tunnel |
| Cost | Free tier is limited | Free |
The killer feature for me: stable URLs. I set stripe-webhook.example.com once in the Stripe dashboard, and it works forever. No matter how many times I restart the tunnel or reboot my machine, the URL stays the same.
Prerequisites
Before starting, make sure:
- You have a Cloudflare account (free)
- You own a domain with its DNS managed by Cloudflare
If your domain isn’t on Cloudflare yet, you can add it for free — Cloudflare’s free plan includes DNS management and tunnel support.
Installing cloudflared
Install the cloudflared CLI for your platform:
macOS
brew install cloudflaredLinux (Debian/Ubuntu)
curl -LO https://github.com/cloudflare/cloudflared/releases/latest/download/cloudflared-linux-amd64.deb
sudo dpkg -i cloudflared-linux-amd64.deb
Windows
winget install --id Cloudflare.cloudflaredVerify the installation:
cloudflared --version
# cloudflared version 2024.12.x (I'm using whatever Homebrew installs)
Authenticating with Cloudflare
Link cloudflared to your Cloudflare account:
cloudflared tunnel loginThis opens a browser where you log in and select the domain you want to use. After success, credentials are saved under:
- macOS/Linux:
~/.cloudflared/ - Windows:
%USERPROFILE%\.cloudflared\
Creating a Named Tunnel
cloudflared tunnel create webhook-devThis creates a persistent tunnel and outputs a tunnel ID (a UUID). You’ll need this ID for the config file.
A named tunnel is the key to stable URLs — the tunnel ID stays the same across restarts.
Configuring Ingress Rules
Create the config file at ~/.cloudflared/config.yml:
tunnel: webhook-dev
credentials-file: /Users/you/.cloudflared/<tunnel-id>.json

ingress:
  - hostname: stripe-webhook.example.com
    service: http://127.0.0.1:3000
    originRequest:
      httpHostHeader: localhost

  - hostname: qstash-webhook.example.com
    service: http://127.0.0.1:8080

  - service: http_status:404
This setup:
- Routes
stripe-webhook.example.comto your local app on port 3000 - Routes
qstash-webhook.example.comto a different local service on port 8080 - Returns 404 for any other hostname (safety catch-all)
The originRequest.httpHostHeader setting is only needed if your local app checks the Host header for routing (common with Express virtual hosts or Nginx). If you’re not sure, include it — it doesn’t hurt.
You can add as many hostname entries as you need. I have 3-4 running at any time during development.
Routing DNS to the Tunnel
Tell Cloudflare to point your subdomains to the tunnel:
cloudflared tunnel route dns webhook-dev stripe-webhook.example.com
cloudflared tunnel route dns webhook-dev qstash-webhook.example.com
Cloudflare automatically creates CNAME DNS records for these subdomains. No manual DNS editing needed. HTTPS certificates are provisioned automatically too.
You only need to run these commands once per hostname. After that, the DNS records persist even if the tunnel is stopped.
Running the Tunnel
Start the tunnel for local development:
cloudflared tunnel run webhook-devAt this point, https://stripe-webhook.example.com forwards traffic directly to http://127.0.0.1:3000 on your machine. Configure this URL once in your Stripe (or any other service) webhook settings, and never touch it again.
To stop: Ctrl+C. Your webhook URLs will return errors while the tunnel is down, but the DNS records stay in place. Next time you run the tunnel, everything reconnects instantly.
My Daily Workflow
My typical development session:
# Terminal 1: Start the tunnel
cloudflared tunnel run webhook-dev

# Terminal 2: Start my app
npm run dev

# Terminal 3: Trigger webhooks from service dashboards or CLI tools
# Stripe: stripe trigger payment_intent.succeeded
# Everything hits my local machine through the stable URL
When I’m done for the day, I stop the tunnel and my app. Next morning, I start them again — same URLs, no reconfiguration.
Common Issues I Ran Into
502 or 523 errors:
Your tunnel is running but the local app isn’t, or it’s running on a different port. Double-check the port in config.yml matches your actual app.
DNS not resolving: You created the tunnel but forgot to route the hostname. Run:
cloudflared tunnel route dns webhook-dev your-hostname.example.comHost header mismatch:
Some frameworks (Express with virtual hosts, Nginx) reject requests where the Host header doesn’t match expectations. Fix with:
originRequest:
  httpHostHeader: localhost
Permission errors on Linux: If running as a non-root user, make sure the credentials file is readable:
chmod 600 ~/.cloudflared/<tunnel-id>.jsonDebugging tunnel issues: Run with verbose logging to see exactly what’s happening:
cloudflared tunnel run webhook-dev --loglevel debugOther useful commands:
cloudflared tunnel list          # see all your tunnels
cloudflared tunnel info webhook-dev  # details about a specific tunnel
Final Thoughts
Cloudflare Tunnel gave me stable, secure webhook URLs without the constant URL rotation of ngrok’s free tier. Once it’s set up, it just works — and it’s completely free if your domain is already on Cloudflare.
The official Cloudflare Tunnel docs cover advanced setups like running the tunnel as a system service, load balancing, and access policies if you need to go further.
I use this alongside Colima for a lightweight Docker setup — if you’re still on Docker Desktop, here’s my experience switching to Colima on macOS.
Thanks for reading — and stay tuned.